Photo Disclaimer
Description
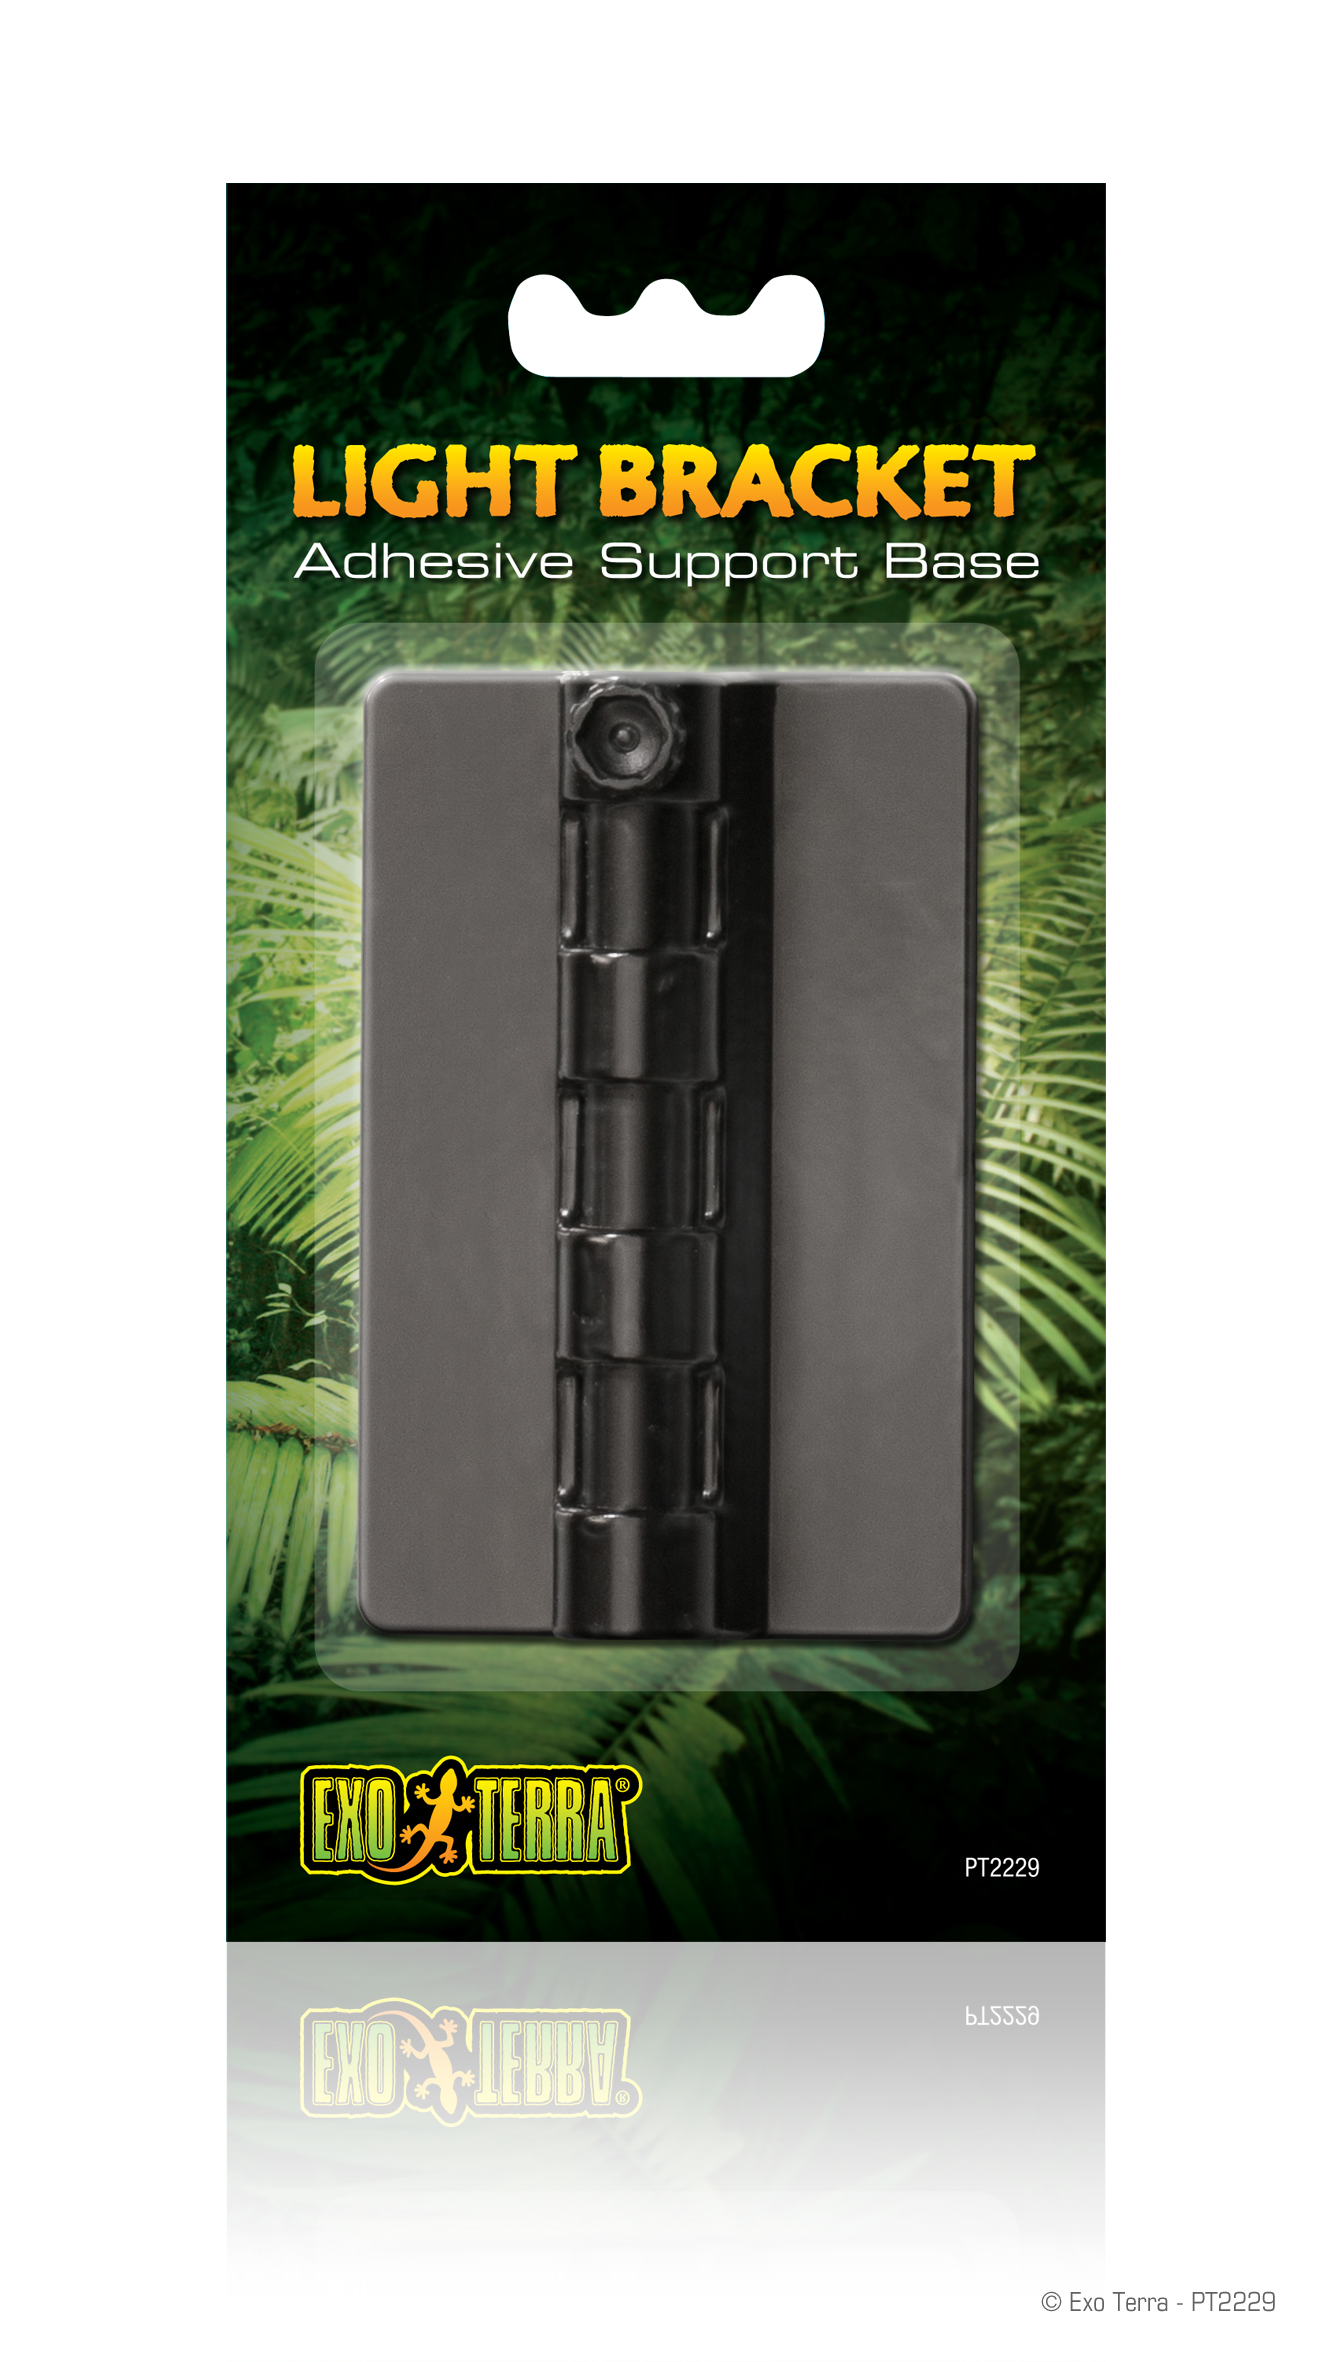
The Exo Terra Light Bracket Adhesive Support Base is a replacement part for the Exo Terra Light Bracket. When attached to the terrarium, it serves as a supportive base for the bracket. Please follow the installation instructions thoroughly to ensure optimal safety and working.
INSTALLATION AND USAGE:
- Glass surface preparation: surface temperature for application should be no lower than 60°F degrees (16°C) and not higher than 85°F degrees (29°C). If climate will not permit, move unit to appropriate conditions. Area to receive tape should first be thoroughly cleaned with a liquid detergent and warm water solution. Rinse with clean water and dry completely. A final wipe with 50/50 alcohol/water is highly recommended for best results (use a clean, lint-free cloth). Ensure surface is dry and residue free before proceeding. Note: The position of the adhesive support base cannot be changed after it has been affixed.
- Loosen the screw at the back of the adhesive support base and remove the Light Bracket from the adhesive support base.
- With the protective backing still intact, place the adhesive support base on the back or the side of the terrarium to determine its final position and mark the position with a wax pencil or other marker.
- Remove the protective backing and carefully fit the adhesive support base within the marked area.
- Press the adhesive tape firmly and evenly against the glass panel, while gently twisting, to ensure proper adhesion. Make sure no air bubbles are showing. Let the Light Bracket rest on the terrarium mesh for 24 hours to allow the tape bond to cure properly before the dome is suspended and the weight of the dome can exert pressure on the adhesive support base. Once in place, the adhesive support base should not be removed!
- Allow the adhesive tape bond to cure for 24 hours before inserting the bracket in the adhesive support base or suspending any fixture on the bracket.
- After 24 hours, insert the bracket in the adhesive support base, adjust to the desired height and tighten the screw.
- Remove the first rubber washer, slide the ring of the fixture’s support over the rod of the Light Bracket, then replace the first rubber to secure the fixture’s support tightly in between both rubber stoppers.
- Adjust the position of the fixture by moving the rubber washers.
- Adjust the height and tighten the screw of adhesive supporting base when the Dome Fixture is suspended above the terrarium at the desired height.
- Ensure that the light’s focal point is not positioned above any plastic parts of the terrarium or screen cover to prevent damage.
INSTALL LIGHT AFTER 24 HOURS TO ALLOW THE TAPE BOND TO CURE PROPERLY
NOTE : FAILURE OF PROPER TAPE BONDING MAY BE ATTRIBUTED TO ONE OF FOUR ISSUES:
- Poor surface preparation and/or application.
- Poor adhesive contact: exposed adhesive side of tape being touched or contaminated.
- Insufficient pressure being applied.
- Lamp hung too soon, tape not fully cured.
- Replacement part for the Exo Terra Light Bracket
- Adhesive support base

